Hey, Folks.
Here’s another battle report of another game
against Tau, this time with a different opponent, my friend James Conley. James has been playing a lot of games with
his Tau since the new codex came out, and I think he played them quite a bit
before that; in other words, Tau are not a new army to him. He had a very different lineup from what Josh
threw at me about a week prior, which I knew was going to happen, which is also
what I wanted to have happen as I’m trying to get in as many games against
different opponents, armies and builds as possible before heading off to
Valhalla (in less than two weeks!!!). I,
on the other hand, used the same list as I did against Josh, but I’ll repeat it
here.
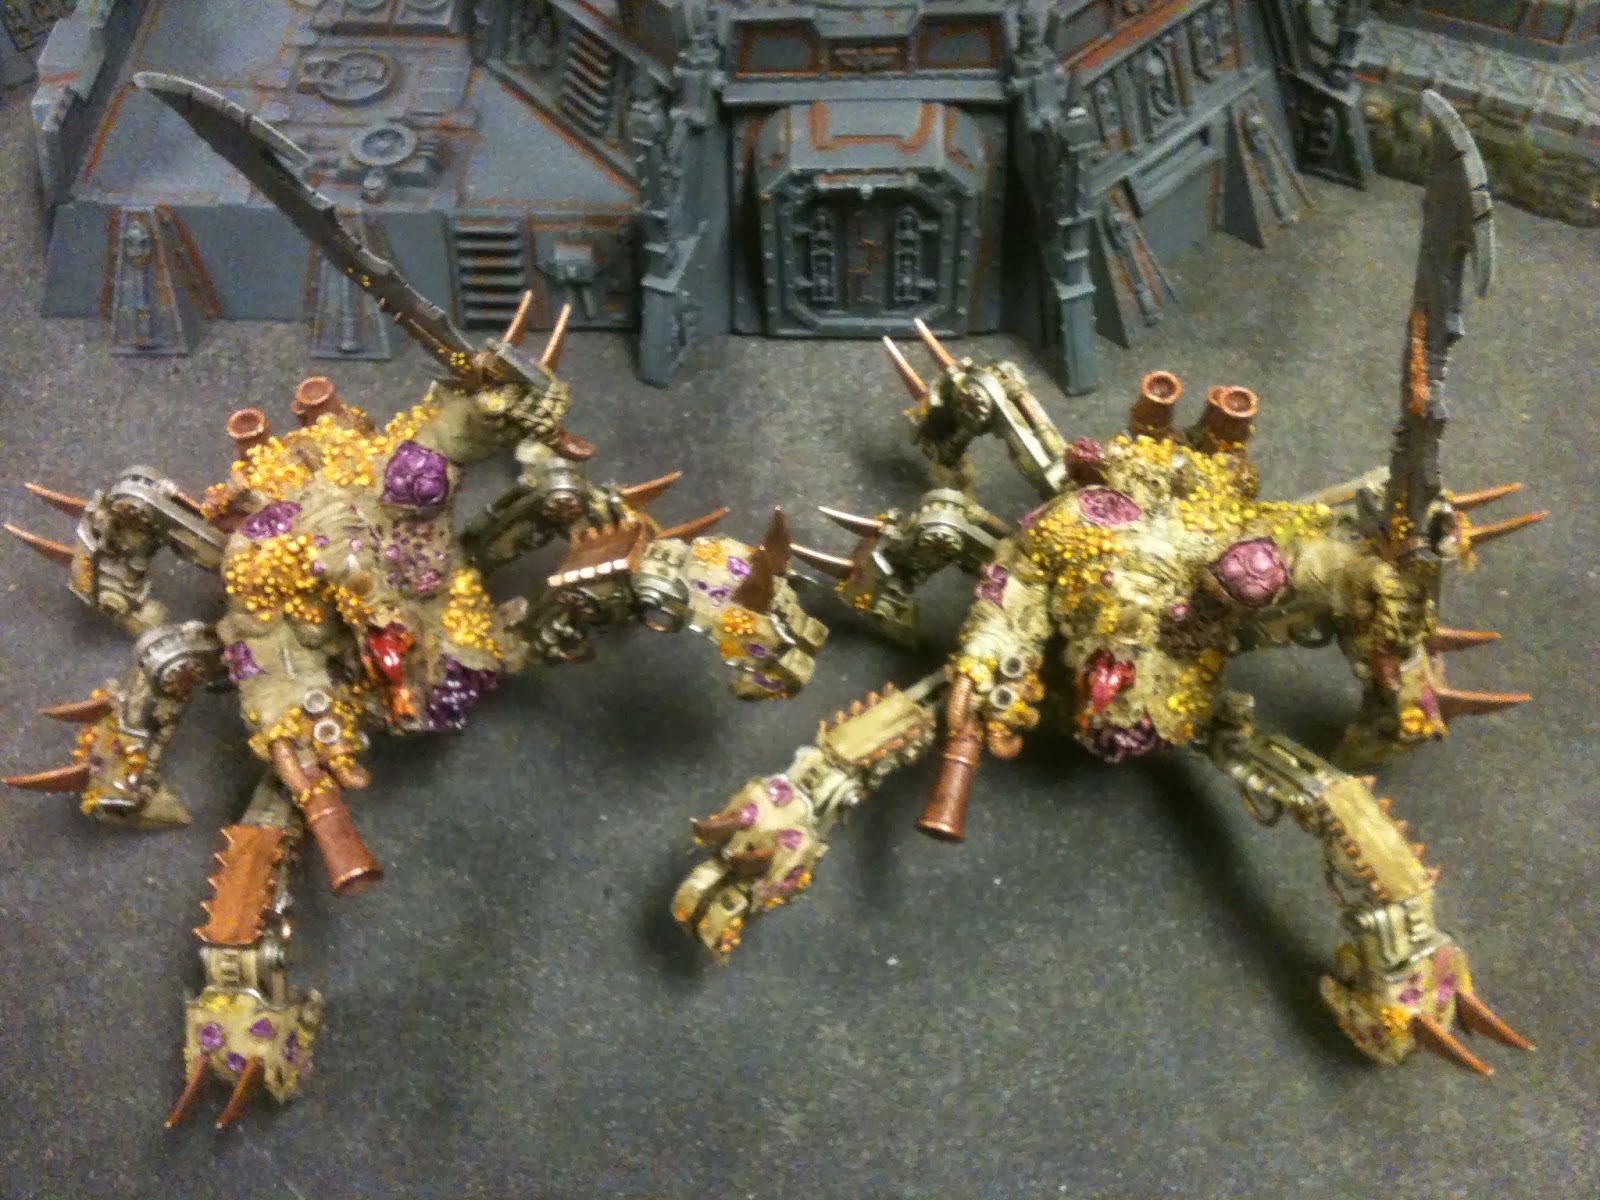
(Unlike last battle report, this time I took
pictures. They’re a bit fuzzy here and
there, since it was just my old iPhone 3GS, which doesn’t have great focusing
software, but they should give you and idea of how the battlefield looked at
the start of each turn. You’ll find
those below nestled in with the narrative of the battle.)
Here’s the lineup:
Warhammer
40,000 Battle Report
Tuesday, October 1st, 2013
Chaos
Space Maries w/ Chaos Daemon Allies
Vs
The
Tau Empire
1,850
Points
Chaos Space Marines and Daemons:
Primary Detachment:
- Jon’Ker De’Bloath, Chaos Lord on Bike with
Mark of Nurgle, Sigil of Corruption, The Burning Brand of Skalathrax, The Black
Mace, Blight Grenades, Melta Bombs, Gift of Mutation. – 220 Points.
- 4 Chaos Spawn with the Mark of Nurgle – 144
Points.
- 7 Plague Marines with 2 Plasma Guns – 198
Points.
- 7 Plague Marines with 2 Plasma Guns – 198
Points.
- 2 Heldrakes with Baleflamers – 2 X 170 = 340
Points.
- 5 CSM Havocs with Mark of Nurgle and 4
Autocannon – 130 Points.
- 2 CSM Obliterators with Mark of Nurgle – 152
Points.
Allies:
- Great Unclean One, Psyker Level 3, 1 Greater
Daemonic Reward, 1 Exalted Daemonic Reward – 290 Points.
- 10 Plaguebearers of Nurgle – 90 Points.
- 10 Plaguebearers of Nurgle – 90 Points.
===================
Tau Empire (to the best of
my recollection, and without unit points costs):
Primary Detachment:
- Commander Farsight.
- Farsight’s “Gang of 7”, mostly kitted out
with double plasma, plus a fusion gun, and one guy had no weapons, just the
Command and Control Node so that everyone else could ignore cover; plus 6 shield
drones.
- Crisis Suit Commander with missiles, plasma
and 8 Marker Drones.
- 12 Firewarriers with Shas’ui and Marker
Drone.
- 12 Firewarriers with Shas’ui and Marker
Drone.
- 12 Firewarriers with Shas’ui and Marker
Drone.
- 7 Pathfinders with Marker Lights.
- 3 Crisis Suits with plasma and missiles, plus
3 Shield Drones.
- 2 Broadsides with all the missle goodness and
Sky Fire.
Allies:
===================
- Total = ~1,850 Points. (I didn’t see James’ list, but I trust him.)
James had a lot of points tied up with
Farsight and his Gang. It would be the
first time I faced such a list, so it promised to be interesting.
I should note here that this was not a
campaign game, so my Nurgle Biker Lord did not have all the nice gubbins that
he had when I played Josh.
Mission:
We originally rolled up The Scouring, but neither of us wanted to deal with randomly determined
victory points for objectives, so we just agreed to Crusade and rolled up 3 objectives for that. Dawn
of War was the deployment that we rolled, and James won the roll-off to see
who would place objective markers first, so that would give him two objectives
to my one, which suited him well, as it allowed him to be more static, as Tau
tend to be.
I had set up the board while James was
getting his army out of his car. It was
my usual, less-than-creative, very symmetrical set up, with good amounts of
cover for all possible deployments.
James agreed that it was OK with him before we started rolling for
mission and deployment.
I won the roll-of for who would go first, and
gave James the honor of deploying and going first, which would give him a turn
of uninhibited shooting to pulverize whatever he wanted to with all the Marker
Lights that he had, but I wanted to see how he would deploy, and there’s always
a chance to seize the initiative.
However, I generally like to go last in objectives games, so I often won’t
attempt to seize.
Since James was running Farsight he already
knew what his Warlord Trait would be, which is that Farsight and his unit don’t
scatter at all when they arrive from Deep Strike, which is what James was
planning to do with him. We agreed that
I would roll and then choose from one of the three tables in the BRB for my
Warlord Trait, as that’s the way James usually does it in his friendly games,
and that’s the way that Jimmy does it at Empire Games when he’s running
tournaments. Makes it a bit more
balanced in that you don’t necessarily end up getting totally screwed if you
roll something on the table you picked first that wouldn’t benefit you at
all. I rolled a 6, and chose from the
Personal table, which made my Warlord (my Nurgle Chaos Biker Lord) a scoring
unit. Well, if he survived until the end
of the game, which would be a rarity…
I then had to roll for my Daemonic Rewards
and Psychic Powers for the GUO. For the
Greater Daemonic Reward I rolled Dark
Blessing, which would allow my GUO to re-roll failed Invulnerable saves, which
wasn’t bad at all. For the Exalted Reward
I knew what I was going to do, but rolled on the chart anyway and got Unholy Frenzy, which would have given
him Rage and Frenzy, which weren’t bad, but I decided to do what I’d planned to
do anyway, which was to swap that out for one of the Hellforged Artefacts, the Grimoire of True Names. I’d only used the Grimoire once before, in
the previous game against Josh’s Tau, and it proved to be a huge boon to my
game, so I was hoping for similar luck this time.
For my Psychic Powers for the GUO I rolled up
Iron Arm (Yeah!), Warp Speed (Yeah!), and Haemmorrhage (so-so), so no complaints
there.
(And, once again, I forgot that I had purchased
Gift of Mutation for my Biker Lord,
so didn’t roll on the Chaos Boon table for him.
Need to create a checklist that I can use every game to be sure I go
through all the necessary pre-game steps, and also don’t forget to do Blessings
and Maledictions at the start of each movement phase…)
Then James started deploying. He spread out across his deployment zone with
all of his units, but kept his 3 units of Fire Warriors bunched up around the
two objectives he’d placed in cover in his deployment zone, just over 12” from
each other on my left side of the table.
I had placed my single objective marker in cover in my deployment zone,
but to the left of the center so that it was in the same half of the table as
James’ two objectives. This would
(hopefully) allow me to not have to spread myself out, as I knew I would be
making a push towards his two objective, as just holding my one wouldn’t cut it
by the end of the game; or so was my thinking along those lines.
James held Farsight and his bodyguard in Reserve,
as expected. I had 11 units to work
with, so held 6 of them in Reserve: The
2 Heldrakes (which had to start in Reserve), Mr. Fat Pants (the GUO), the unit
of 2 Oblits, and both units of Plaguebearers.
My plan was to weather whatever shooting was necessary until Reserves
started showing up, and Deep Striking close to James’ line and press towards
his objectives. I put my Havocs in the
only building that made sense, and stuffed the Biker Lord and his escort of 4
Chaos Spawn down in the ground floor level of the same building, so that they
would have as straight a shot at James’ big cluster of Fire Warrior units as
possible on my turn, but would be out of line of sight of as much as possible
at the start of the game. I then
positioned one unit of Plague Marines about in the middle of the table, out of
cover but also out of sight of all of the Fire Warriors, although I knew they’d
be lit up by the Marker Drones with the Crisis Suit Commander, and then shot at
by the Crisis Suit Team on my right side of the table. The other unit of Plague Marines I put behind
the cover that my objective was in, so that they would be out of range of James’
Fire Warriors, and as out of sight from his Pathfinders as possible.
Here are some shots of how the battlefield
looked after deployment, at the start of Turn 1:
Turn 1:
James’ Pathfinders lit up my Havocs with
their Marker Lights, and then a couple of squads of Fire Warriors shot the
living shit out of them, wiping out the squad.
I think the Broadsides contributed to that, too, but they may have shot
at the Plague Marines that were behind my objective, in which case that’s how I
lost one there. A few Fire Warriors were
able to take pot shots at my Biker Lord, but either none were able to wound, or
he successfully Look Out,Sir-ed them off to the Spawn, who make their cover
saves.
He then lit up the Plague Marines that were
hoping to make a dash for the cover in the middle of the table with 7 of his 8
Marker Drones, and then shot at them with all the Crisis Suits, and managed to
kill three of them.
In my half of Turn 1 the Biker Lord and the
Spawn crashed through the wall of the building they were sheltering in and made
a bee-line down my left hand side of the table towards the Fire Warriors
guarding one of James’ objectives. Two
of the Spawn managed to make it into cover, and three of them remained in base
contact with the Biker Lord, since I didn’t have to worry about any template or
blast templates hitting them, so I could distribute the Look Out, Sirs amongst
them as much as possible.

The Plague
Marines behind my objective moved up into the cover (mostly), and the Plague
Marines that had been lit up by so many Marker Drones decided to angle off to
the right and head towards the Crisis Suits that had jumped closer to them in
their assault phase. I had very little
shooting, since my Havocs had been obliterated, but the Death Guard on my right
angling towards the Crisis Suit team got lucky and took out a few Shield Drones
with their rapid fire shooting. The
Biker Lord used the Burning Brand of Skalathrax to flame 4 Fire Warriors out of
the squad to my far left, which was the squad he and the Spawn intended to
assault next turn. The units I shot at
either didn’t need to take a Morale test after shooting, or passed it.
And that was about it for Turn 1.
Turn 2:
James rolled for his only unit in Reserves,
Farsight and his buddies, but they were still discussing strategy on the mother
ship, and decided not to turn up just yet.
That worked just fine for me.
James moved his Marker Drones and their
Crisis Suit master closer to the Plague Marines on my right, and edged up his
Crisis Suit team even closer, I guess to try to get within rapid fire range, but
it was looking pretty hopeful that if they rolled poorly for their assault
phase jump, and didn’t wipe out the Plague Marines, that I might have a chance
of charging that unit of Crisis Suits in my turn.
Here’s a look at the table at the start of
Turn 2, after James’ movement phase:
James managed to peel off a wound on two of
the Spawn, thanks to Look Out, Sirs, as well as the Biker Lord, who failed one
Look Out, Sir and then failed his armor save.
*Sigh*. Chaos Lords only have 3
wounds, so the loss of any one of them that could otherwise be prevented is
aggravating.
Otherwise, the Broadsides targeted my Plague
Marines that were in the cover with my objectived, and managed to kill one of
them. Then, in his assault phase, his
Crisis Suit team on my right only rolled a 3 for their assault jump away from
the Plague Marines near them, which made me hopeful that they could assault the
Crisis team in my turn.
In my half of Turn 2, the following showed up
from Reserves:
- One Heldrake.
- The Great Unclean One.
- One unit of Plagubearers.
- The unit of 2 Obliterators.
This was also very beneficial for me. There were some tense moments for me, as I
got aggressive with my Deep Strike positions, and the GUO almost had a mishap,
dropping in very close to James’ Pathfinders, and the Plaguebearers almost
scattered onto the Spawn accompanying the Lord.
However, I got lucky, and both units came in just far enough out to make
it in and not require me to roll on the Deep Strike Mishap table. The Oblits hit right where I wanted them to,
and the Heldrake flew in from my right side, vector striking the Crisis Team and
taking a toll. The Crisis Team was still
there, but they lost some drones and some wounds from the Heldrake’s vector
strike.
The GUO used the Grimoire on the Heldrake, as
James’ Broadsides had Sky Fire, and it was presenting its ass to the Crisis
Team, so if I didn’t get them tied up in close combat this turn, they could
take snap shots at it’s AV10 side with plasma, which could prove a problem.
The Lord then split off from the Spawn, and
both units advanced towards the Fire Warrior teams harboring in the ruins on my
left. The Plague Marines in the cover
with my objective moved through cover pretty well, managing to get most of them
out of the cover.
In the shooting phase, the Lord refrained
from shooting at the Fire Warriors in front of him with the Burning Brand of
Skalathrax, not wanting to thin their numbers too low, or have no models on the
ground floor to try to attack. The
Heldrake flamed the Pathfinders with its Baleflamer, causing considerable
damage and forcing the Marker Light toting Tau to break. The Plague Marines on my right declined to
shoot at the Crisis Team with their bolt pistols for fear of putting themselves
out of charge range, which after moving an unobstructed 6” was only 5”. If I recall correctly, the Plague Marines
emerging from the cover in the middle of the action where just barely in range
of the Fire Warriors opposite them, but I can’t recall for sure, or whether
they were able to shoot any of them successfully (they may have run, can’t
recall for sure).
The real boon to this turn of shooting, in
addition to the Heldrake’s results, was the Obliterators one-shotting both of
the Broadsides with their multi-meltas.
That took a huge threat off the board, and left the Oblits free to focus
on the Fire Warriors that remained directly in front of them on one of James’
objectives.
In my assault phase, the Spawn assaulted the
Fire Warrior squad immediately to my left, drawing all of the Overwatch from
them and the squad next to them. Since
they were in the open, they didn’t have any cover, and as a result took a few
wounds, which left me with 2 Spawn with full wounds (James had a good Overwatch
on the Spawn). However, the Spawn were
able to make their short charge distance, and the Biker Lord, without having to
worry about any Overwatch shots coming his way, assaulted the same squad. My units caused enough wounds to force James
to make a break test, which he failed, and that unit of Fire Warriors got run
down. However, in the process they were
able to put a wound on the Biker Lord, so he was down to one wound, and they
also peeled one wound off of one of the Spawn.
On my right, the Plague Marines were
successful in their assault into the Crisis Team. They took no wounds, and managed to kill off
one Crisis Suit and the two shield drones, but the Crisis Team didn’t break,
which suited me just fine.
Turn 3:
Here’s a look at how things stood at the
start of Turn 3:
This was a pivotal turn for me, which I’ll
summarize here:
James’ Turn 3:
- Farsight & Friends were still busy
studying the unfolding battle from the safety of their Manta in orbit, and so
once again didn’t turn up for James.
- The Pathfinders couldn’t regroup, and ran off
the table (either that, or they ran off the table after being flamed by the
Heldrake, but at this point I can’t remember; I tried to get this battle report
completed the day after the game, but work got in the way, and I’m finishing it
up almost a week later…)
- The Biker Lord fell to Fire Warrior shooting.
- The Plague Marines on the right finished off
the Crisis Team and started making their way around James’ side of the building
in the center of the table.
My Turn 3:
- My second Heldrake turned up, flying in from
the left corner of my board edge towards the two squads of remaining Fire
Warriors.
- My second squad of Plaguebearers also turned
up, and scattered safely, but a little back from where I wanted them, but still
within range to make it to the nearest objective in James’ deployment zone.
- The Plaguebearers that had arrived Turn 2
rolled double 1s for their difficult terrain test, so just sort of spread out
where they were, preparing to head back towards the objective in my deployment
zone.
- The Spawn moved out of the cover of the ruins
on my left in James’ deployment zone and set up to charge the Fire Warriors
that were left there.
- The Plague Marines coming around from my right
moved forwards, aiming for the objective in James’ deployment zone on my right.
- The GUO got both the Grimoire and Iron Arm
off, and moved out of cover and set up to attempt to assault the Crisis Suit
Commander and whatever was left of his marker drones.
- The first Heldrake vector struck the marker
drone squad, putting some hurt on them, and set up to flame either Fire Warrior
squad remaining on the objectives.
- The Plague Marines in the middle of the
action continued to press forward, putting more distance between them and the objective
in my deployment zone, but in a position to dash back towards it in the next
turn if their bolters and plasma guns weren’t needed forward.
- The Oblits moved forward and got into “Howdy”
range of the Fire Warriors in the cover with the objective on my right in James’
deployment zone.
- The Heldrake and Oblits flamed the living
hell out of both squads of Fire Warriors, but not quite finishing them off.
- The Plague Marines on my right stumbled
forward 1” in the shooting phase as they tried to run closer to James’
objective nearest to them.
- The Spawn charged the Fire Warriors remaining
in the ruins on my left, finishing them off.
- The Oblits charged the Fire Warriors to my
right of the squad the Spawn took care of business, finishing them off.
- ==>> At
this point, James had no more Troops choices left, but he had First Blood and
Slay the Warlord, and still has the potential for Farsight and his bodyguard to
take care of my Troops and/or deny a key objective.
- The GUO charged into the Crisis Suit
Commander and his marker drones and got stuck in.
Turn 4:
This being Turn 4, Farsight and his bodyguard
automatically came in at the start of James’ turn. Being Farsight, he and his unit did not
scatter when they arrive from Deep Strike.
Here’s how things looked after James selected where to place Farsight:
Using their ability to split fire, Farsight
and his buddies (lots of dual plasma, plus a fusion blaster) made short work of
my two remaining Plague Marine squads, which were both out in the open and had
to rely on their Feel No Pain rolls to try to withstand the blasting they took
from Farsight’s squad, but after Jame’s shooting phase both Plague Marine
squads were gone.
In his assault phase, James moved Farsight’s
squad towards my table edge somewhat with their jet packs, and spread out a bit
so that they wouldn’t be totally bunched up when the baleflamer templates
started dropping on them in my turn.
The GUO and the Crisis Suit Commander and his
marker drones continued to duke it out on James’ side of the board.
In my half of turn 4, the both Heldrakes
turned 90 degrees and were able to vector strike Farsight’s squad, taking a
heavy toll. The Plaguebearers in the
open made a 6” bee-line for the closest objective in James’ deployment zone,
while the other Plaguebearer squad managed to get out of the cover they were in
and headed towards Farsight’s squad to see if they could do anything. The Spawn wanted to join in that fun, too, so
they headed straight for Farsight and his bodyguard as well. The oblits managed a decent difficult terrain
test and moved off of the objective they’d stood on after they wiped out the
last of the Fire Warriors that had been there.
In my shooting phase, the Heldrakes both
flamed Farsight’s squad, and did even more damage. The Oblits tried to use their plasma cannons
on Farsight’s squad, but they both overheated, and one of them took a
wound. Ouch.
Then the critical question: Could I get both the Plaguebearers and the
two remaining Spawn into combat with what remained of Farsight’s squad? As it turned out, they did so easily. I ended up winning combat, Farsight failed
his break test, and the Spawn and the Plaguebearers ran them down.
At this point it didn’t matter that the
Crisis Suit Commander (who was down to one wound) was still in combat with the GUO,
as I’d essentially tabled James. Both
units of Plaguebearers would have made it to an objective marker in Turn 5, and
I had Slay the Warlord. The Oblits would’ve
made their way over to the GUO and Crisis Suit Commander’s combat and tried to
join in, and with two player turns in Turn 5 to work with, I’m sure they would’ve
taken care of the Commander. So James
called it at the end of Turn 4.
Victory Goes to Chaos!!!
Summary:
This was a well played game on both our
parts, I think, and I had a lot of fun, but then again, it’s always more fun
when you win. James seemed to have had a
good time, and was very good natured about taking the loss. In truth, his dice were not with him this
game, while with only a few exceptions, mine rarely let me down (even my cursed
scatter die!)
In retrospect, Farsight lost him the
game. By staying in Reserves until he
had to show up Turn 4, the lack of that many points from his army taking part
in earlier Turns really hampered James’ ability to deal with all the threats
that I had on the table.
For my part, it was good to get another game
in against a different Tau player who has a different style of play. It was also probably good for me to lose my
Havocs at the top of Turn 1, so that I had to figure out other means of trying
to deal with all of the Marker Lights James had early, and secure a victory by
some other means. The Grimoire only let
me own once, and my GUO did take a wound or two as a result of only having a
6++ save for one turn, but his Greater Gift was that he could re-roll
Invulnerable saves, and that helped.
Iron Arm was a help, but I kept forgetting to cast Warp Speed on the
GUO, which is just my inexperience with playing with a psyker.
If you’re still reading, thanks for taking
the time to do so. I hope you enjoyed
this battle report. As always, please
feel free to leave a comment.